Introduction
Capturing screenshots on a Surface Pro can seem daunting if you’ve just switched from another device. Whether saving an image of a webpage, a snippet from a document, or a still from a video, the Surface Pro offers several screenshot methods. This guide covers everything you need to know about taking screenshots on a Surface Pro, including built-in tool options, tips for using your Surface Pen, and valuable third-party applications for even more functionality. Discover how to efficiently capture, enhance, and manage your screenshots, and resolve any issues you might encounter. This guide is tailored for everyone—from novices to tech-savvy users—in order to optimize your screenshotting experience.

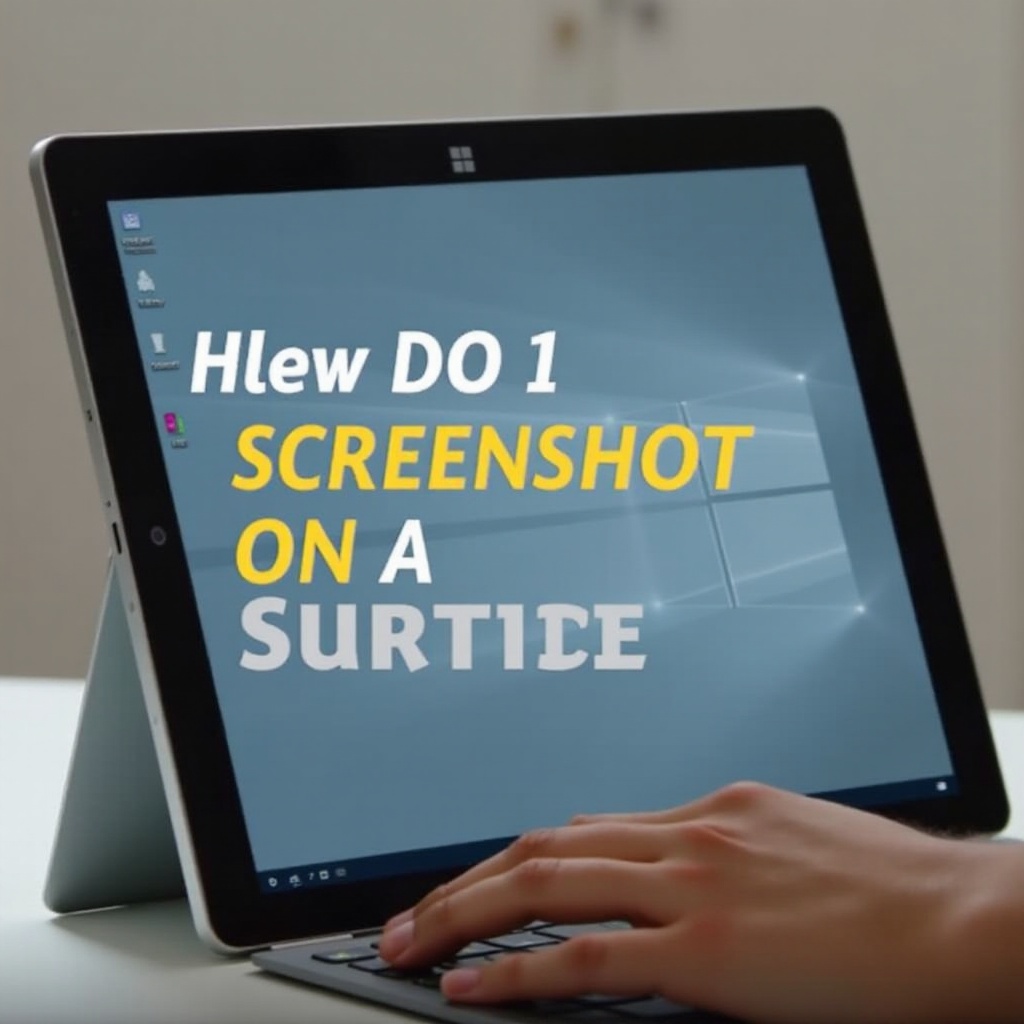
Understanding Your Surface Pro’s Screenshot Options
Your Surface Pro provides multiple methods for taking screenshots, each offering unique advantages. Depending on your requirements, you can opt for Windows’ built-in tools, the interactive Surface Pen, or versatile third-party applications. Properly understanding these options helps you select the most efficient method for day-to-day tasks, ensuring a streamlined experience whether you are working or relaxing.
While Windows’ built-in tools like the Snipping Tool or Snip & Sketch are excellent for basic needs, leveraging the Surface Pen provides an interactive, tactile approach. Exploring these options allows you to customize your Surface Pro experience, whether you’re capturing small details or full-page screenshots.
Using Windows Built-in Tools
Windows equips the Surface Pro with various built-in tools, enabling you to capture screenshots easily without any additional setups.
How to Use the Snipping Tool
- Open Snipping Tool: Find it via the Start menu.
- Select Mode: Choose from Free-form, Rectangular, Window, or Full-screen snip.
- Capture: Hit ‘New’ and drag the cursor over the desired capture area.
- Save/Copy: Save your screenshot or copy it to the clipboard.
Capturing Screenshots with Snip & Sketch
- Open Snip & Sketch: Launch it from the Start menu or use the shortcut (Windows + Shift + S).
- Choose a Snip Type: Options include Rectangular, Free-form, Window, or Full-screen snip.
- Edit and Save: Capture the screen, edit using provided tools, and then save the image.
Utilizing the Print Screen Functionality
- Full Screen: Press ‘PrtScn’ to copy the entire screen to the clipboard.
- Specific Window: Alt + PrtScn duplicates only the active window.
- Save Directly: Windows + PrtScn saves the screenshot in the Pictures > Screenshots folder.
Using the Surface Pen adds another layer of convenience to screenshot taking. Let’s explore how this unique hardware feature can further simplify the process.
Taking Screenshots with the Surface Pen
Using a Surface Pen makes the screenshot process more intuitive, particularly for those favoring interaction beyond the keyboard. The pen is not only useful for drawing and note-taking but also serves as an effective tool for screenshots.
How to Use the Surface Pen for Screenshots
- Double-Click Button: Double-click the pen’s top button to open Screen Sketch.
- Select Area: Use the pen to choose a screen area or capture the entire screen.
- Edit and Save: Annotate the image if needed, then save it.
Advantages of Using the Surface Pen
- Immediate access to screen capturing.
- Direct annotation using the pen.
- Improved control for capturing specific areas.
Step-by-Step Guide with Screen Sketch
- Activate Screen Sketch: Use the Surface Pen’s button or access it from Windows Ink Workspace.
- Capture and Annotate: Drag to capture, annotate as necessary with the pen.
- Save or Share: Save your capture or share it directly from the application.
Now that you understand built-in features and the Surface Pen’s capabilities, you might explore third-party applications for enhanced functionality and customization.

Enhancing Your Screenshots with Third-party Apps
Several third-party applications provide advanced features tailored for avid screenshot enthusiasts. These apps usually come with sophisticated editing tools, cloud storage options, and more to improve productivity.
Overview of Popular Apps
- Lightshot: Simple tool for screenshotting and instant sharing.
- Snagit: Offers comprehensive editorial toolkits.
- Greenshot: A free, open-source option known for basic editing capabilities.
Pros and Cons of Using External Software
- Pros: Access to advanced features, enhanced editing options, cloud integration.
- Cons: May involve costs, require additional setup, utilize more system resources.
Tips for Choosing the Right Application
- Balance features against your requirements.
- Consider the cost with respect to the benefits.
- Opt for apps that offer robust support and comprehensive documentation.
Even with advanced applications at your disposal, encountering screenshot issues is not uncommon. Here’s how to resolve potential problems.
Troubleshooting Common Screenshot Issues
Even with various options, users might face issues while capturing screenshots on Surface Pro. Here’s how you can troubleshoot common problems and ensure a seamless experience.
What to Do When Screenshots Do Not Work
- Restart your Surface Pro first.
- Ensure OS and drivers are current.
- Verify keyboard shortcuts are configured correctly.
Solving Resolution and Quality Problems
- Optimize display settings for better resolution.
- Use third-party apps with high-resolution capabilities.
- Adjust DPI settings if necessary.
Tips for Efficient Screenshot Management
- Routinely back up to cloud storage.
- Arrange screenshots in labeled folders.
- Use editing tools for batch processing.
Conclusion
Capturing screenshots on a Surface Pro is straightforward with the right tools and methods. By using built-in capabilities, the Surface Pen, or incorporating third-party software, you can customize the process according to your specific needs. Comprehending these approaches ensures you capture and share screen content precisely and efficiently.
Frequently Asked Questions
Can I Use Keyboard Shortcuts for Screenshots on a Surface Pro?
Yes, you can utilize shortcuts such as PrtScn, Alt + PrtScn, and Windows + PrtScn for quick captures.
What is the Best Third-party App for High-Quality Screenshots?
It depends on your needs, but Snagit is renowned for its extensive editing features and ease of use.
How Do I Edit Screenshots After Taking Them on a Surface Pro?
You can use Snip & Sketch to edit directly or opt for third-party applications like Adobe Photoshop or GIMP for advanced editing.