Introduction
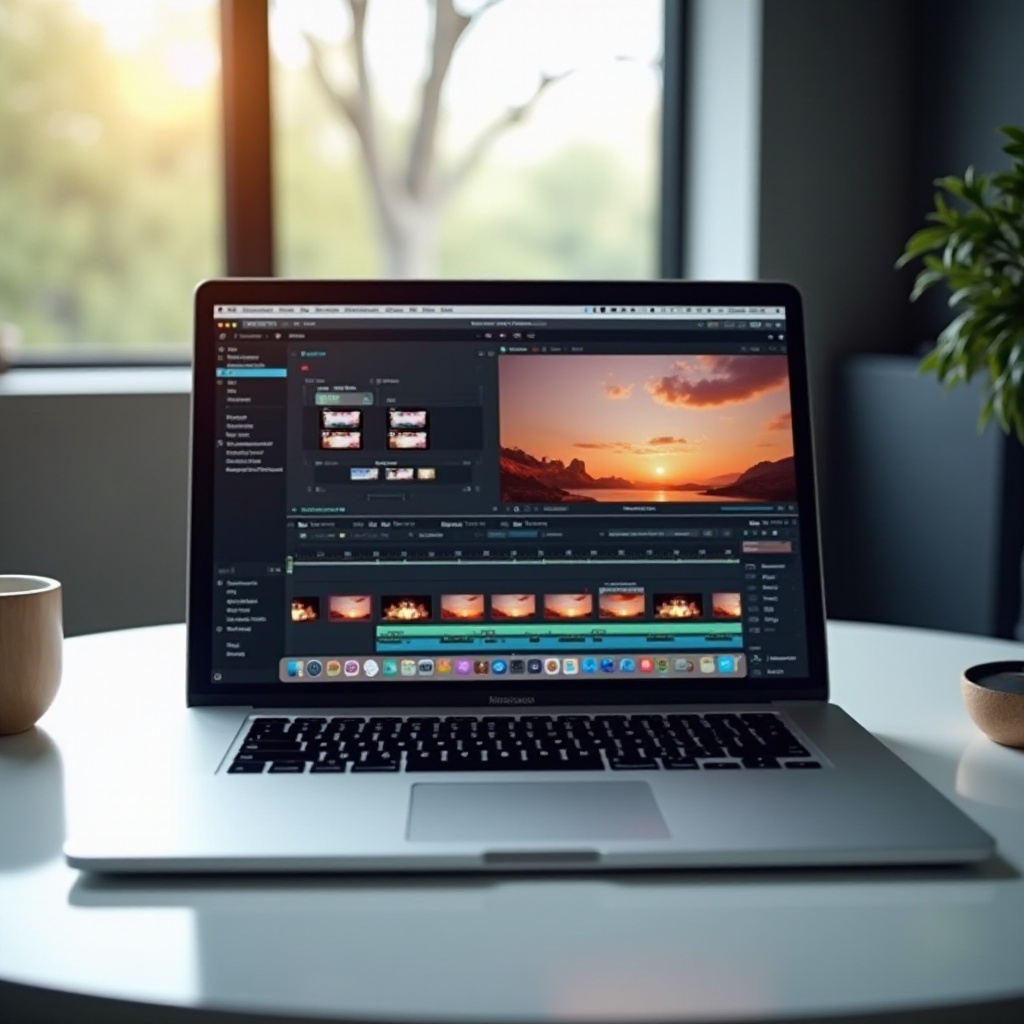
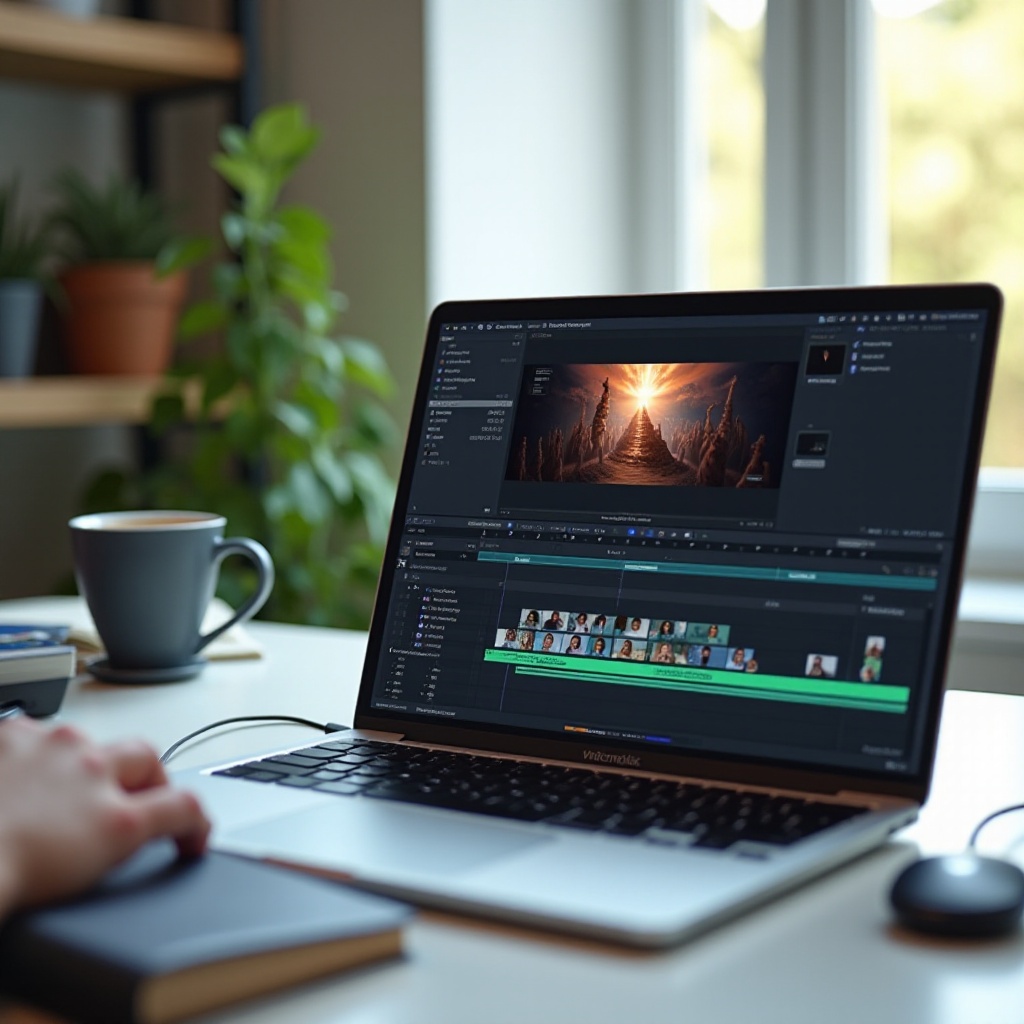
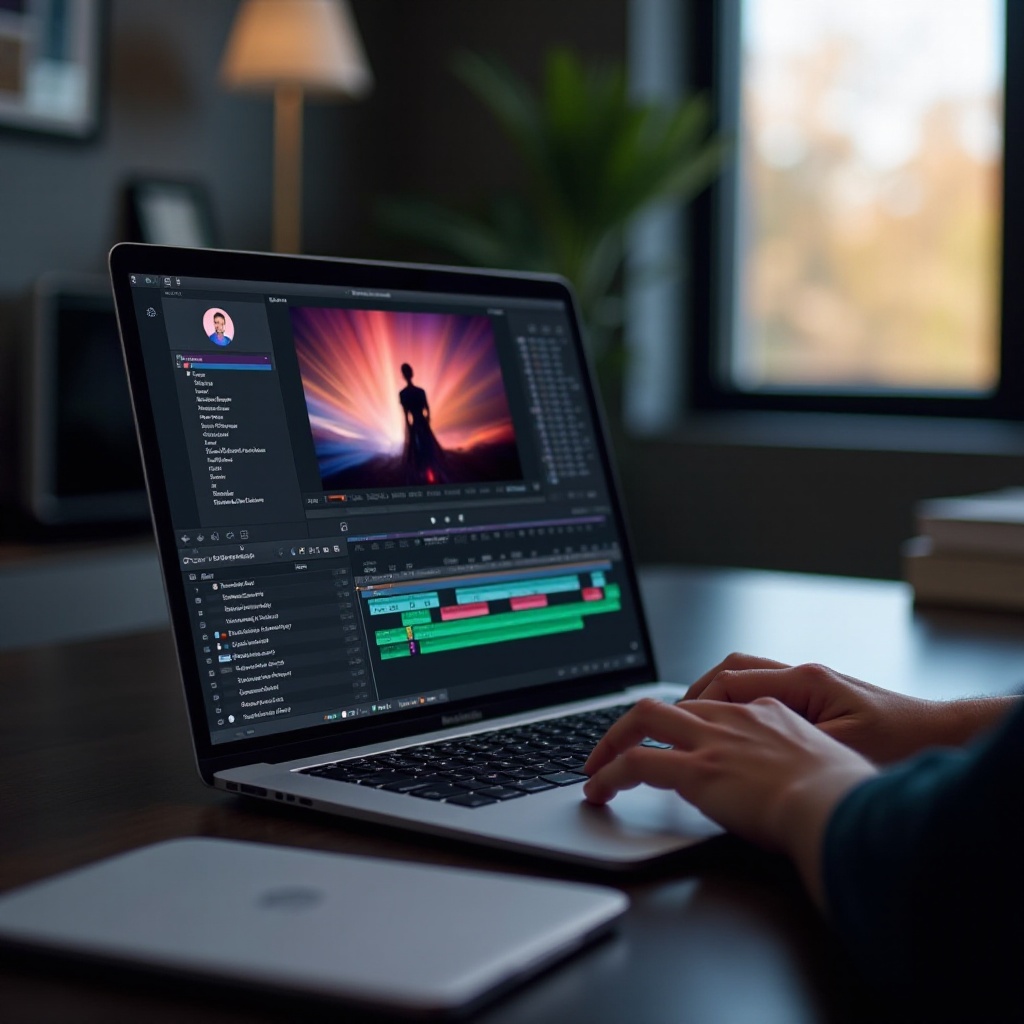
Video editing enthusiasts and professionals often ask, ‘Can you use DaVinci Resolve on MacBook Pro?’ The answer is a resounding yes! DaVinci Resolve is one of the leading video editing software programs used globally, famed for its robust features and efficiency. Whether you are a budding filmmaker or a seasoned editor, using DaVinci Resolve on a MacBook Pro can provide you with a seamless editing experience. This guide will explore system requirements, installation steps, performance optimization, and troubleshooting tips for using DaVinci Resolve on a MacBook Pro.
System Requirements for DaVinci Resolve on MacBook Pro
Before diving into the installation process, it’s crucial to know whether your MacBook Pro meets the system requirements to run DaVinci Resolve effectively. The basic requirements include macOS 10.14.6 or later, at least 16GB of RAM for basic HD and 4K editing, and 32GB of RAM if you are working with Fusion.
An SSD is highly recommended for storing the software and project files to ensure faster read and write speeds. Moreover, a high-end GPU, like the ones present in the latest models of MacBook Pro, can significantly enhance performance. In essence, while DaVinci Resolve is capable of running on a range of MacBook Pro models, having the latest, most powerful configuration will ensure a smooth and efficient editing process.
Installing DaVinci Resolve on MacBook Pro
Once you have verified that your MacBook Pro meets the necessary requirements, the installation process is straightforward. Follow these steps:
- Visit the Blackmagic Design website and navigate to the DaVinci Resolve page.
- Choose between the free version and the Studio version, which offers more features.
- Download the installer and open the package file from your Downloads folder.
- Follow the on-screen instructions for installation, providing system permissions where requested.
- Once installed, launch DaVinci Resolve, and you are ready to start editing.
The entire process takes only a few minutes, and soon you’ll have one of the most powerful editing tools at your disposal.
Optimizing Performance of DaVinci Resolve on MacBook Pro
Even with DaVinci Resolve installed and running, you might want to optimize its performance for a better editing experience. Here are some optimization tips:
- Close Unnecessary Applications: Running multiple applications simultaneously can drain your system’s resources. Close any unnecessary programs to free up RAM and processing power.
- Adjust Playback Settings: Lowering the playback resolution can improve real-time performance without compromising the quality of your final output.
- Use Proxy Media: Generate proxy media, especially when handling large or high-resolution files. Proxy media are lower resolution copies of your footage that are easier to work with.
- Upgrade Hardware: If possible, upgrade your MacBook’s RAM or storage. Using an external SSD for your project files can also significantly speed up the editing process.
- Regular Updates: Blackmagic Design frequently releases updates. Ensure your software is up-to-date to benefit from performance improvements and bug fixes.
By following these tips, you can ensure that DaVinci Resolve runs smoothly on your MacBook Pro, allowing you to focus on your creative projects.
Tips for Efficient Video Editing on MacBook Pro
Optimizing performance is just one part of the equation. Implementing efficient video editing practices can further streamline your workflow:
- Organize Your Media: Keep your files organized in clearly labeled folders. This will save time searching for specific clips and help maintain a smooth editing process.
- Utilize Keyboard Shortcuts: Familiarize yourself with the keyboard shortcuts in DaVinci Resolve. They can significantly speed up your editing tasks, such as cutting, trimming, and navigating the timeline.
- Work with a Script or Storyboard: Planning your project with a script or storyboard can provide a clear direction and reduce the time spent on making editing decisions.
- Backup Regularly: Create regular backups of your projects to avoid losing work. Utilize the ‘Project Backup’ feature in DaVinci Resolve for automatic backups.
By organizing your workflow and using these practical tips, you can make your video editing process more efficient and enjoyable.
Troubleshooting Common Issues
Even with optimization, you might encounter issues while using DaVinci Resolve on your MacBook Pro. Here are some common problems and solutions:
- Software Crashes: Ensure all system and DaVinci Resolve updates are installed. Check for conflicting software and close unnecessary programs.
- Lagging or Freezing: Lower the playback resolution, use proxy media, or allocate more memory to DaVinci Resolve.
- Exporting Issues: Verify your export settings and ensure your project settings match. Sometimes, mismatched settings can cause exporting problems.
By troubleshooting these common issues, you can maintain a stable and productive editing environment on your MacBook Pro.
Conclusion
DaVinci Resolve is a powerhouse for video editing that works seamlessly on MacBook Pro, provided it meets the necessary requirements and is optimized for performance. Whether you are installing the software, optimizing it, or troubleshooting common issues, following the guidelines in this blog will ensure you get the most out of your editing experience.
Frequently Asked Questions
Is DaVinci Resolve free to use on MacBook Pro?
Yes, DaVinci Resolve offers a free version with comprehensive features suitable for both beginners and professionals. There is also a paid Studio version with additional functionalities for advanced users.
How much RAM is recommended for DaVinci Resolve on MacBook Pro?
At least 16GB of RAM is recommended for basic HD and 4K editing. For more complex projects and using Fusion, 32GB or more is advisable.
Can you use external GPUs with MacBook Pro for DaVinci Resolve?
Yes, using an external GPU (eGPU) can enhance DaVinci Resolve’s performance on a MacBook Pro, particularly with graphics-intensive tasks such as rendering and color grading.